
Stone Installation You Won't Have to Think About Again
Benchtops show up with gaps. Seams land in the middle. Overhangs crack within a year. Once stone’s cut, there’s no going back.
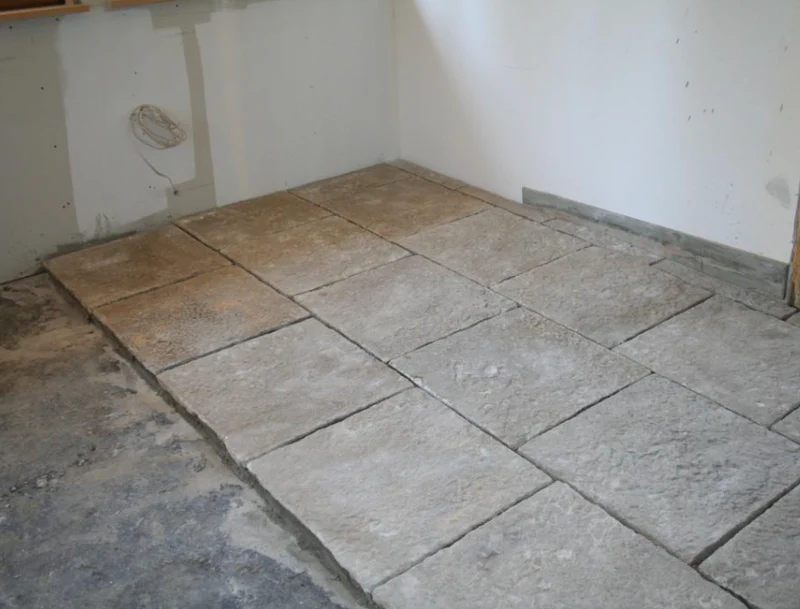
The Fix Isn't Complicated, It Just Needs Planning First.
Getting new stone installed sounds simple. Pick a slab, cut it, and fit it. Done. But it rarely goes that smoothly.
Benchtops show up with gaps against the wall. Seams end up right in the middle of the space instead of somewhere they’d blend in. Overhangs crack within a year because nobody added support underneath. And once stone’s cut, that’s it. There’s no trimming a corner or shifting a seam after the fact.
That means measuring the space properly, picking stone that suits how you’ll actually use it, and planning seams and support ahead of time, not figuring it out on the day.
That’s the part we handle. We’re The Stone Restoration, and installing new stone is a thing we do every day. Seeing how bad installs fail later teaches us exactly how to get it right the first time.
Most Jobs Fall Into One of Two Types
The approach shifts a bit depending on which one you need.
1. Stone Benchtop Installation
Your kitchen benchtop probably takes more daily wear than anything else in your house. Hot pans, knives, spills, all of it. We cut and fit benchtops in granite, marble, engineered stone, and porcelain, matched to your actual cabinets, with the edge and finish you actually want. Not just whatever’s quickest to cut.

We Measure On Site, Plan the Seams, and Seal Before We Leave
A lot of cheaper installers cut straight off a builder’s drawing, no site visit at all. That only works if every wall in the house is dead straight. In real homes, they rarely are.
Measured On Site, After Cabinets Are In
We measure on site instead, after your cabinets or subfloor are actually in. It’s one extra step. But it’s the difference between a benchtop that sits flush against the wall, and one with a gap you’ll notice every time you wipe the counter.
Thickness Chosen for Structure, Not Just Look
Most benchtops are 20mm or 40mm thick. A 40mm edge is usually two 20mm pieces joined at an angle to look like one thick slab. Done well, you can’t see the join. Done poorly, you will.
Overhangs Supported Before the Stone Is Cut
A stool pulled up under an overhang with no support puts weight on stone that doesn’t bend. It just cracks. We plan the support in before the stone’s even cut, not after someone leans on the wrong spot.
Seams Planned to Blend In
Slabs only come so long, so bigger spaces need a joint somewhere. We plan that joint near a sink cutout or a natural break in the layout. Not straight down the middle of an open bench.
Sealed Before We Leave
Fresh stone is just as porous as old stone, sometimes more. We seal every installation before we leave, so the first spill doesn’t turn into a permanent stain.
From First Chat to Final Seal
Consultation and Design
We start with a real conversation. What’s the space like, how do you use it day to day, what stone actually suits the wear it’s going to get. If you already know what you want, we’ll move fast.
Expert Installation
Cutting, edging, and any joining happens in our workshop. On the day, our team handles measuring, fitting and levelling, so there are no surprises once it’s in place.
Post Installation Care
Before we go, you’ll know what to clean it with, what to keep away from it, and roughly when it’ll need resealing next. So it still looks as good in a few years as it does on day one.
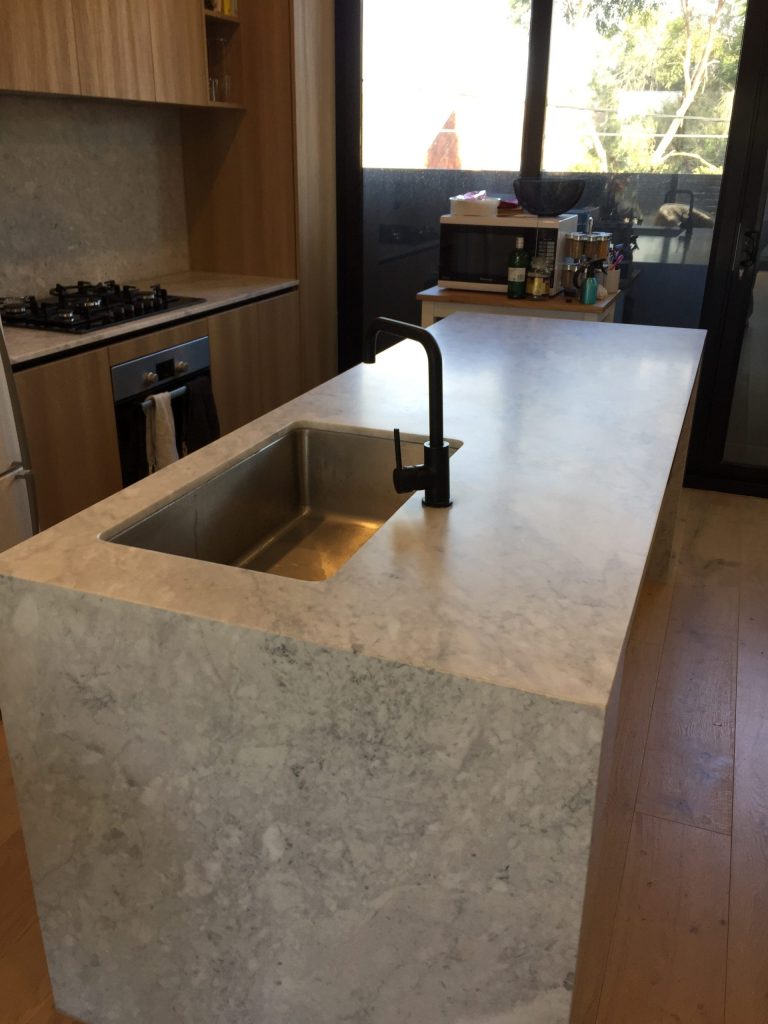
We Install Stone Beyond Benchtops
Beyond benchtops, we install stone across floors, feature walls, vanity tops and outdoor areas too. Marble, granite, travertine and limestone all bring something different to a room. We’ll help you pick the one that suits the light, the foot traffic, and how the space actually gets used. Not just the one that looked good under showroom lighting.
Whether you’re bringing in a full floor, a splashback, or a single vanity top, we match the stone to the room and the install to the stone.
Frequently Asked Questions
1. How long does a benchtop installation actually take?
The site measure is usually quick. Cutting it in our workshop takes about one to two weeks depending on the stone and edge style. Installation day itself is usually just a few hours for a standard kitchen.
2. Do my existing cabinets need to be replaced before you install new stone?
No, as long as they’re level and solid. We check this when we measure and flag anything that needs fixing before the stone’s even cut.
3. What stone holds up best in a busy family kitchen?
Granite and engineered stone handle daily wear the best. They resist scratches and heat well. Marble works fine too; it just needs more regular sealing and a bit more care around spills.
4. Can you match new stone to my existing benchtop or floor if I'm only replacing part of it?
Sometimes, though, natural stone varies from slab to slab, so an exact match isn’t always possible. We’ll be upfront about what’s realistic before you commit to anything.
5. Does newly installed stone need sealing straight away, or can that wait?
We seal it as part of the install before we leave. Skipping this, even for a few weeks, is exactly how new benchtops end up stained from the first spill nobody wiped up in time.
Not Sure What You Need Yet? That's Fine
You don’t need a slab size or edge style picked out before you reach out. A photo of your kitchen, a rough budget, or just a few questions is enough to get started.
Email: support@thestonerestoration.com.au
Phone: +61341517516
Get a Free Quote
Want to see the results first?
Browse our recent grinding and polishing projects.