If your stone floor looked amazing on day one. But now it’s scratched, dull, and uneven. You ask for help, and one tradie says Grind it. Another says polish it. Another says rip it out and start over. You don’t know who to trust, and you’re scared of wasting money on the wrong fix.
Usually stone floors don’t need replacing. They need the right process, done in the right order. Understanding grinding properly will save you from costly mistakes. If you want professional eyes on your floor first, start with the Stone Restoration team.
Key Takeaways
- Stone grinding removes damage and unevenness before any polishing begins.
- The grit sequence you use makes or breaks the final result.
- Not every dull floor needs grinding; sometimes honing is enough.
- Professional grinding services deliver results that DIY rarely can.
Stone Grinding vs. Honing vs. Polishing
You might be thinking, what does your floor need? These three words get mixed up all the time. They are not the same thing. Using the wrong one can make your floor look worse.
Think of it like fixing a car scratch. You don’t wax a deep scratch. You sand it first, then smooth it, then wax. Stone floors work the same way.
| Process | What It Does | When You Need It |
| Grinding | Removes material, levels surface | Lippage, deep scratches, uneven tiles |
| Honing | Smooths surface, removes fine marks | Dull finish, minor surface damage |
| Polishing | Creates shine, brings out the stone | Final stage only |
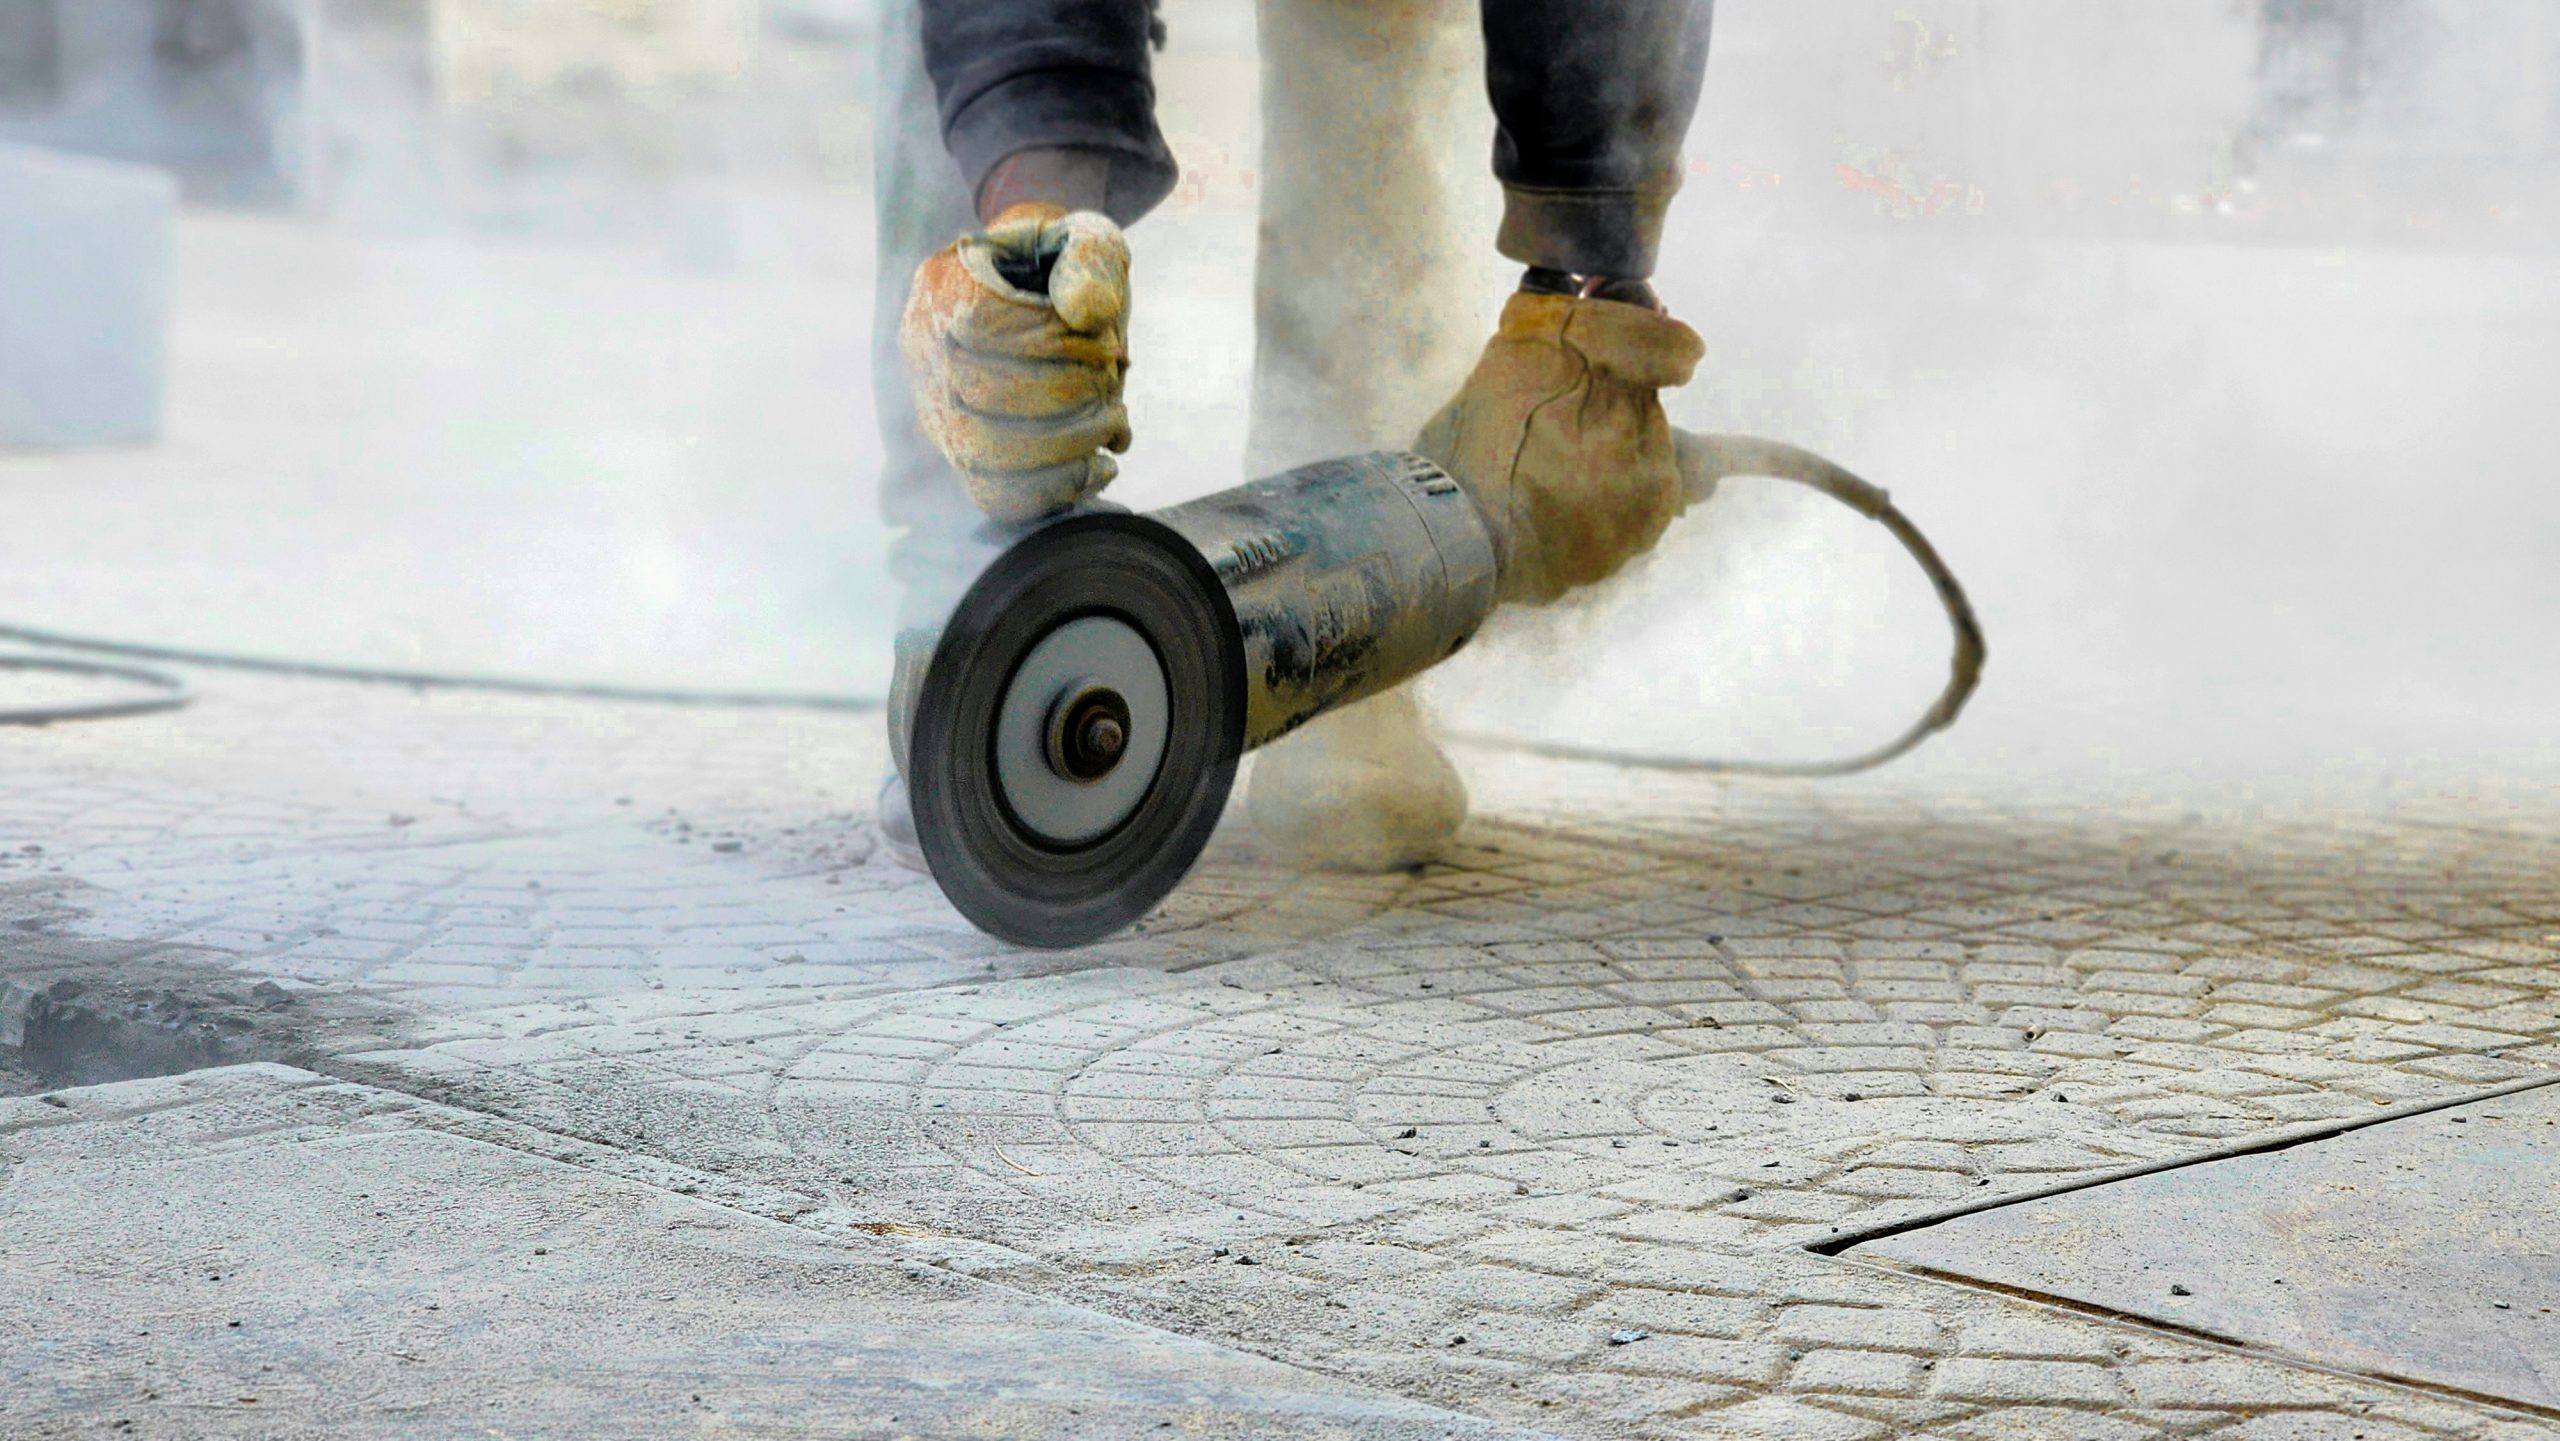
Stone grinding is the most aggressive step. It removes material from the surface. It fixes uneven tiles and serious damage. Honing comes after. It smooths what grinding left behind. Polishing is last. It brings out the shine.
I have a simple rule for you: if you can feel the unevenness with your bare foot, you need grinding first. Polishing over a rough surface is just like putting lipstick on a problem.
Signs Your Stone Floor Needs Professional Grinding
Most people wait too long. By the time they seek a solution to their problem, the damage is more serious than it needed to be. Here’s what to look for:
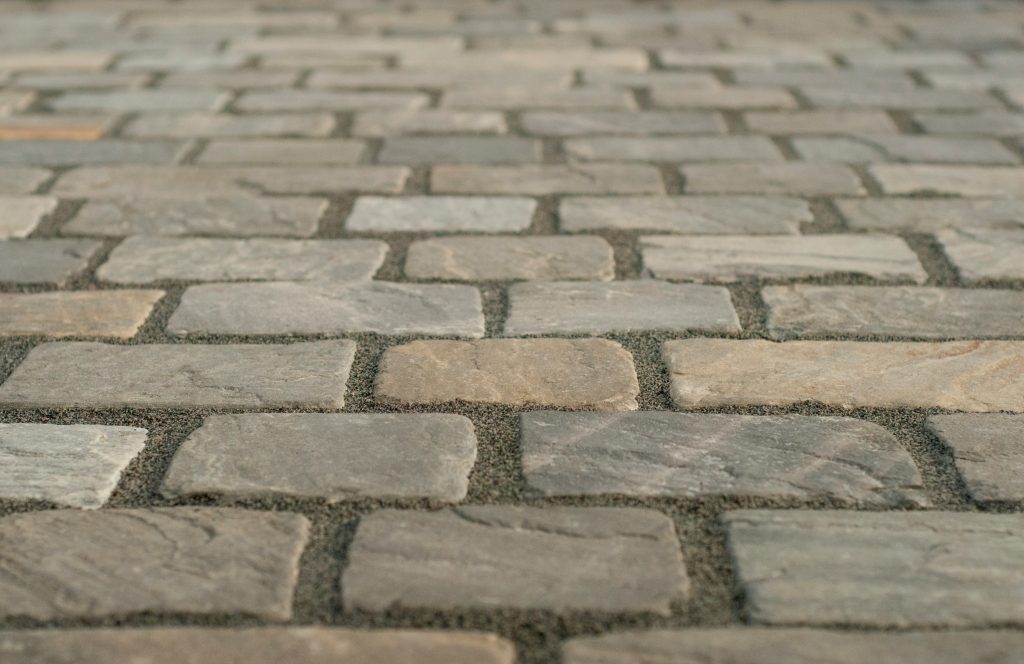
- Lippage: One tile sits higher than the one next to it. You can feel the edge.
- Deep scratches: Those that don’t go away no matter how much you clean or buff.
- Dull patches: That stay dull even after professional cleaning.
- Uneven wear: Specifically in high-traffic areas like hallways or entrances.
- Grout lines: That sit higher than the stone itself.
If you spot two or more of these, polishing alone won’t fix it. You need proper grinding and polishing done in the right order.
Stone Grinding For Uneven Tiles and Lippage
Among all defects in stone flooring, the most common one is known as lippage. This refers to the condition where tiles are either installed improperly or where there are slight changes in the surface below over time.
There is an important detail many people are unaware of. While trying to figure out how to get rid of lippage in stone floors, it would be wrong to consider only grinding the elevated tile. By doing so, the neighboring tiles become raised as well.
Instead, an expert creates a detailed map of the entire floor. They then identify all protruding and sunken areas and grind them evenly. In this way, an entire floor becomes perfectly leveled.
Once done, honing and polishing restore its natural surface.
The Complete Grinding Process: Step-by-Step
Knowing the process helps you spot when someone is cutting corners. Here’s how it works when done properly.
1 Surface Assessment
The technician checks for lippage, cracks, stains, and how hard the stone is. This decides where to start.
2 Coarse Grinding
The floor is ground with a low grit first. This removes the worst damage and levels the surface.
3 Grinding Grit Progression
This is where most DIYers go wrong. Grinding grit progression means moving from coarse to medium to fine. You can’t skip steps. Each grit removes the scratch marks left by the previous one. Skip a grit, and those scratches show up under light.
4 Honing
Once the surface is level, finer abrasives smooth it further.
5 Polishing
The final passes bring out the stone’s natural look.
6 Sealing
Most natural stone gets sealed after polishing to protect the restored surface.
The Ultimate Stone Grinding Tools Guide
The wrong tool on the wrong stone causes permanent damage. Here’s what you need to know.
-
Diamond Tooling for Stone Grinding
Diamond tooling for grinding is the industry standard. Diamond pads attach to grinding machines. They work on marble, granite, limestone, travertine, and concrete.
- Metal bond diamonds: heavy material removal, used in the coarse grinding stage
- Resin bond diamonds: used for honing and finer grit stages
- Hybrid bond diamonds: versatile, good for mid-range grit work
-
Wet Grinding vs. Dry Grinding
Now most people ask, what is wet grinding vs dry grinding? Here it is in simple terms:
Wet grinding uses water while grinding. The water keeps the diamond pads cool and stops dust from flying everywhere. It’s the standard method for natural stone. It protects the stone and the tooling.
Dry grinding is used on concrete. A vacuum system captures the dust instead of water. It’s easier to set up in big commercial spaces where water is hard to manage.
-
How to Choose the Right Grit
Start coarser than you think you need. A very common mistake is starting too fine. You end up spending three times as long and still don’t get the damage out. For deep scratches or lippage, start low. For light surface work, you can start higher and progress from there.
Stone Grinding for Concrete Floors
Concrete grinding follows the same basic steps as natural stone. But concrete is harder. So the machines and diamond tooling are more aggressive.
Methods for concrete are used in warehouses, retail stores, showrooms, and commercial kitchens. Dry grinding with dust extraction is standard here.
Industrial stone grinding applications go beyond just floors. Concrete grinding is used to prep surfaces before coatings, remove old adhesive, and level commercial slabs.
Safety is serious on concrete. Silica dust is a real health risk. If you are wondering what safety precautions are needed for grinding?
- P2 respiratory mask at minimum
- Wet grinding where possible
- Eye protection, always
- Hearing protection for long jobs
- Ventilate the space and keep it clear of people
How Long Does Stone Grinding Take?
There’s no single answer. A small bathroom with light surface damage might be done in a few hours. A large commercial marble lobby with bad lippage could take several days.
The grinding grit progression alone takes time. Each grit stage needs proper passes across the whole floor. Rushing it leaves scratch patterns that show up under any decent light.
Any honest professional in Australia will tell you the same thing. They can’t give you a timeline until they’ve seen the floor in person.
Stone Floor Grinding Cost
The cost of stone floor restoration per m2 depends on too many things for anyone to quote without seeing the job first. Stone type, damage level, floor size, number of grit stages. It all affects the price.
Here’s what a legitimate quote should always include:
- A proper site inspection before any number is mentioned
- A clear breakdown of each stage. Grinding, honing, polishing, sealing
- An explanation of which techniques will be used and why
- A written scope of work you can refer back to
If someone quotes you without visiting the site, be careful. That’s usually how corners get cut.
An Honest Word Before You Decide
Stone grinding works. But it’s not magic, and it’s not without risk.
Properly grinding and polishing stones requires knowledge, skills, and experience. For instance, thin stones could break because of excessive grinding pressure. Over-grinding may result in the loss of material that cannot be regained. Incorrectly chosen grit may cause unseen micro-fractures in soft stones such as limestone.
Even professional jobs carry some risk on very old or fragile stone. A good technician will tell you this upfront. If someone guarantees a perfect result without looking at your floor first. Walk away. Always ask what happens if a tile cracks during the process. Get the answer in writing.
To remove scratches from stone surfaces that are really deep. Sometimes you grind the whole floor to the same level. Spot repairs rarely blend in well. That’s not a sales pitch. It’s just the reality of working with natural stone.
Conclusion
Stone grinding is not a luxury. It’s a fix. When your floor is uneven, damaged, or too far gone for cleaning, grinding is where you start.
Here’s what to do right now. First, walk your floor barefoot and feel for any raised tile edges. Second, look at the surface in raking light. Scratches and dull patches show up clearly that way. Third, if you find problems, get a professional site assessment before agreeing to any treatment.
For professional stone grinding services across Australia, talk to a specialist who will look at your floor in person before giving you any advice.
Frequently Asked Questions
1. Can I grind porcelain tiles?
Most standard porcelain tiles can be ground, but only by very experienced technicians. Porcelain is extremely hard and unforgiving, and almost all DIY attempts will permanently ruin the surface.
2. Will stone grinding make my tiles thinner?
Yes, it removes a very small amount of material from the surface. This is not noticeable or structural on standard thickness tiles.
3. Can I grind stone that has already been sealed?
Yes, grinding will completely remove all old sealant, wax, and coatings. This is actually one of the best ways to strip old failed sealant from stone.
4. How long after grinding can I walk on the floor?
You can walk on a ground and honed floor the same day. You will need to wait for the sealant to cure fully before moving furniture back.
5. Will grinding remove oil stains from stone?
It will remove oil stains that have penetrated into the top surface layer. Very deep old oil stains may still show through even after grinding