You paid for beautiful stone. Now it is cracking, shifting, or sitting unevenly, and nobody warned you this could happen. Bad stone installation is one of the biggest home problems homeowners deal with.
The worst part? Most of it can be avoided when you know what a good installation looks like. Stone flooring installation is not just placing tiles on a floor. It involves cleaning the surface, placing the stone carefully, filling the gaps, and sealing it properly.
The whole step-by-step process matters. Skipping them might result in cracked stone surfaces, water damage, or loose stone tiles that fail within months. If you are planning a stone project, this guide on choosing the right stone for your space is a great place to start.
Key Takeaways
- Most stone problems start with poor surface preparation.
- Wrong stone choice leads to early cracks, stains, and wear.
- Bad mortar coverage causes loose and uneven stone tiles.
- Proper sealing prevents most long-term stone damage.
What Exactly Is Stone Installation?
Stone installation is when a professional places natural stone. Like marble, granite, limestone, or travertine on floors, walls, or outdoor areas. It sounds simple, but it is not.
Natural stone is heavy and not always the same size from piece to piece.
Each piece needs its own attention during stone fitting and leveling. If one stone is off, it throws off the whole row next to it.
It Is Harder Than Regular Tiling
Natural stone installation is not the same as putting down ceramic tiles. The surface underneath, whether concrete, wood, or backer board, affects how the stone holds over time.
A good stone installer studies the surface first. They plan joint alignment and check everything before cutting a single piece.
Types of Natural Stone Used in Installation
Each stone soaks up water differently and needs a different approach to install. Picking the wrong stone for the wrong place is a mistake that costs a lot to fix.
| Stone Type | Best Use | Porosity Level | Sealing Required |
| Marble | Indoor floors, walls | Medium | Yes |
| Granite | Countertops, outdoor | Low | Recommended |
| Travertine | Indoor/outdoor floors | High | Always |
| Limestone | Indoor floors | High | Always |
| Slate | Outdoor patios, walkways | Low-Medium | Yes |
| Sandstone | Outdoor walls, paths | High | Yes |
| Terrazzo | Commercial floors | Low | Periodic |
Each stone reacts differently to water, foot traffic, and temperature changes. Learning about your stone material before installation saves you from costly stone repair or stone replacement later.
The Stone Installation Process, Step by Step
Good stone installation follows clear steps in a set order. Skipping even one step causes real problems later.
1. Surface Preparation
The floor must be clean, flat, and strong. Even a small 3mm dip can crack stone tiles once people walk on them.
Professionals check moisture levels in the floor first. Too much moisture causes loose stone tiles and long-term surface damage. Especially with porous stones like travertine and sandstone.
- The floor must be flat within 3mm across every 1.8 meters
- A moisture barrier goes down where the floor is damp
- All old adhesive and debris must be cleaned off before the stone layout begins
2. Stone Cutting and Layout
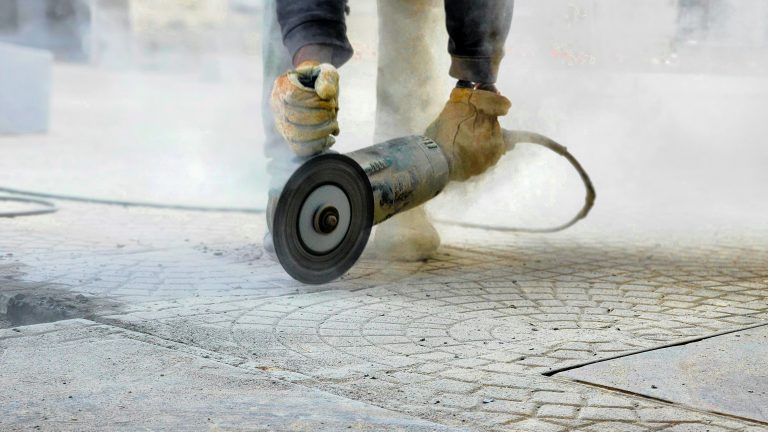
Before any adhesive is mixed, the installer plans where every piece goes. They dry-lay the stone first to check joint alignment and pattern flow. Stone cutting is done with a wet saw to stop edges from chipping.
This step catches problems early. Natural stone pieces are sometimes slightly different in size. A good stone installation expert spots this before it becomes a bigger issue.
3. Grouting and Stone Sealing
After the stone is set and the adhesive has cured, usually 24 to 48 hours. Stone Grouting fills the joints. Using the wrong grout type causes joints to crack. Sanded grout works for wider joints. Unsanded grout works for narrow ones.
The last step is stone sealing. According to the Natural Stone Institute, 80% of natural stone failures happen because of bad sealing or no sealing at all. Sealing protects against moisture, staining, and long-term surface damage.
Can Natural Stone Be Installed Indoors and Outdoors?
Yes, but not every stone works well in every place. Natural stone flooring installation outdoors must handle rain, sun, and cold temperatures. Freeze-thaw cycles can crack weak stone over time.
Slate and granite work well outside because they do not soak up much water. Marble soaks up moisture fast. Outside, without proper sealing, it stains and becomes slippery.
Common Mistakes That Cause Real Problems
These are the exact problems that show up after a poor installation job.
Why Stone Tiles Come Loose or Sit Uneven
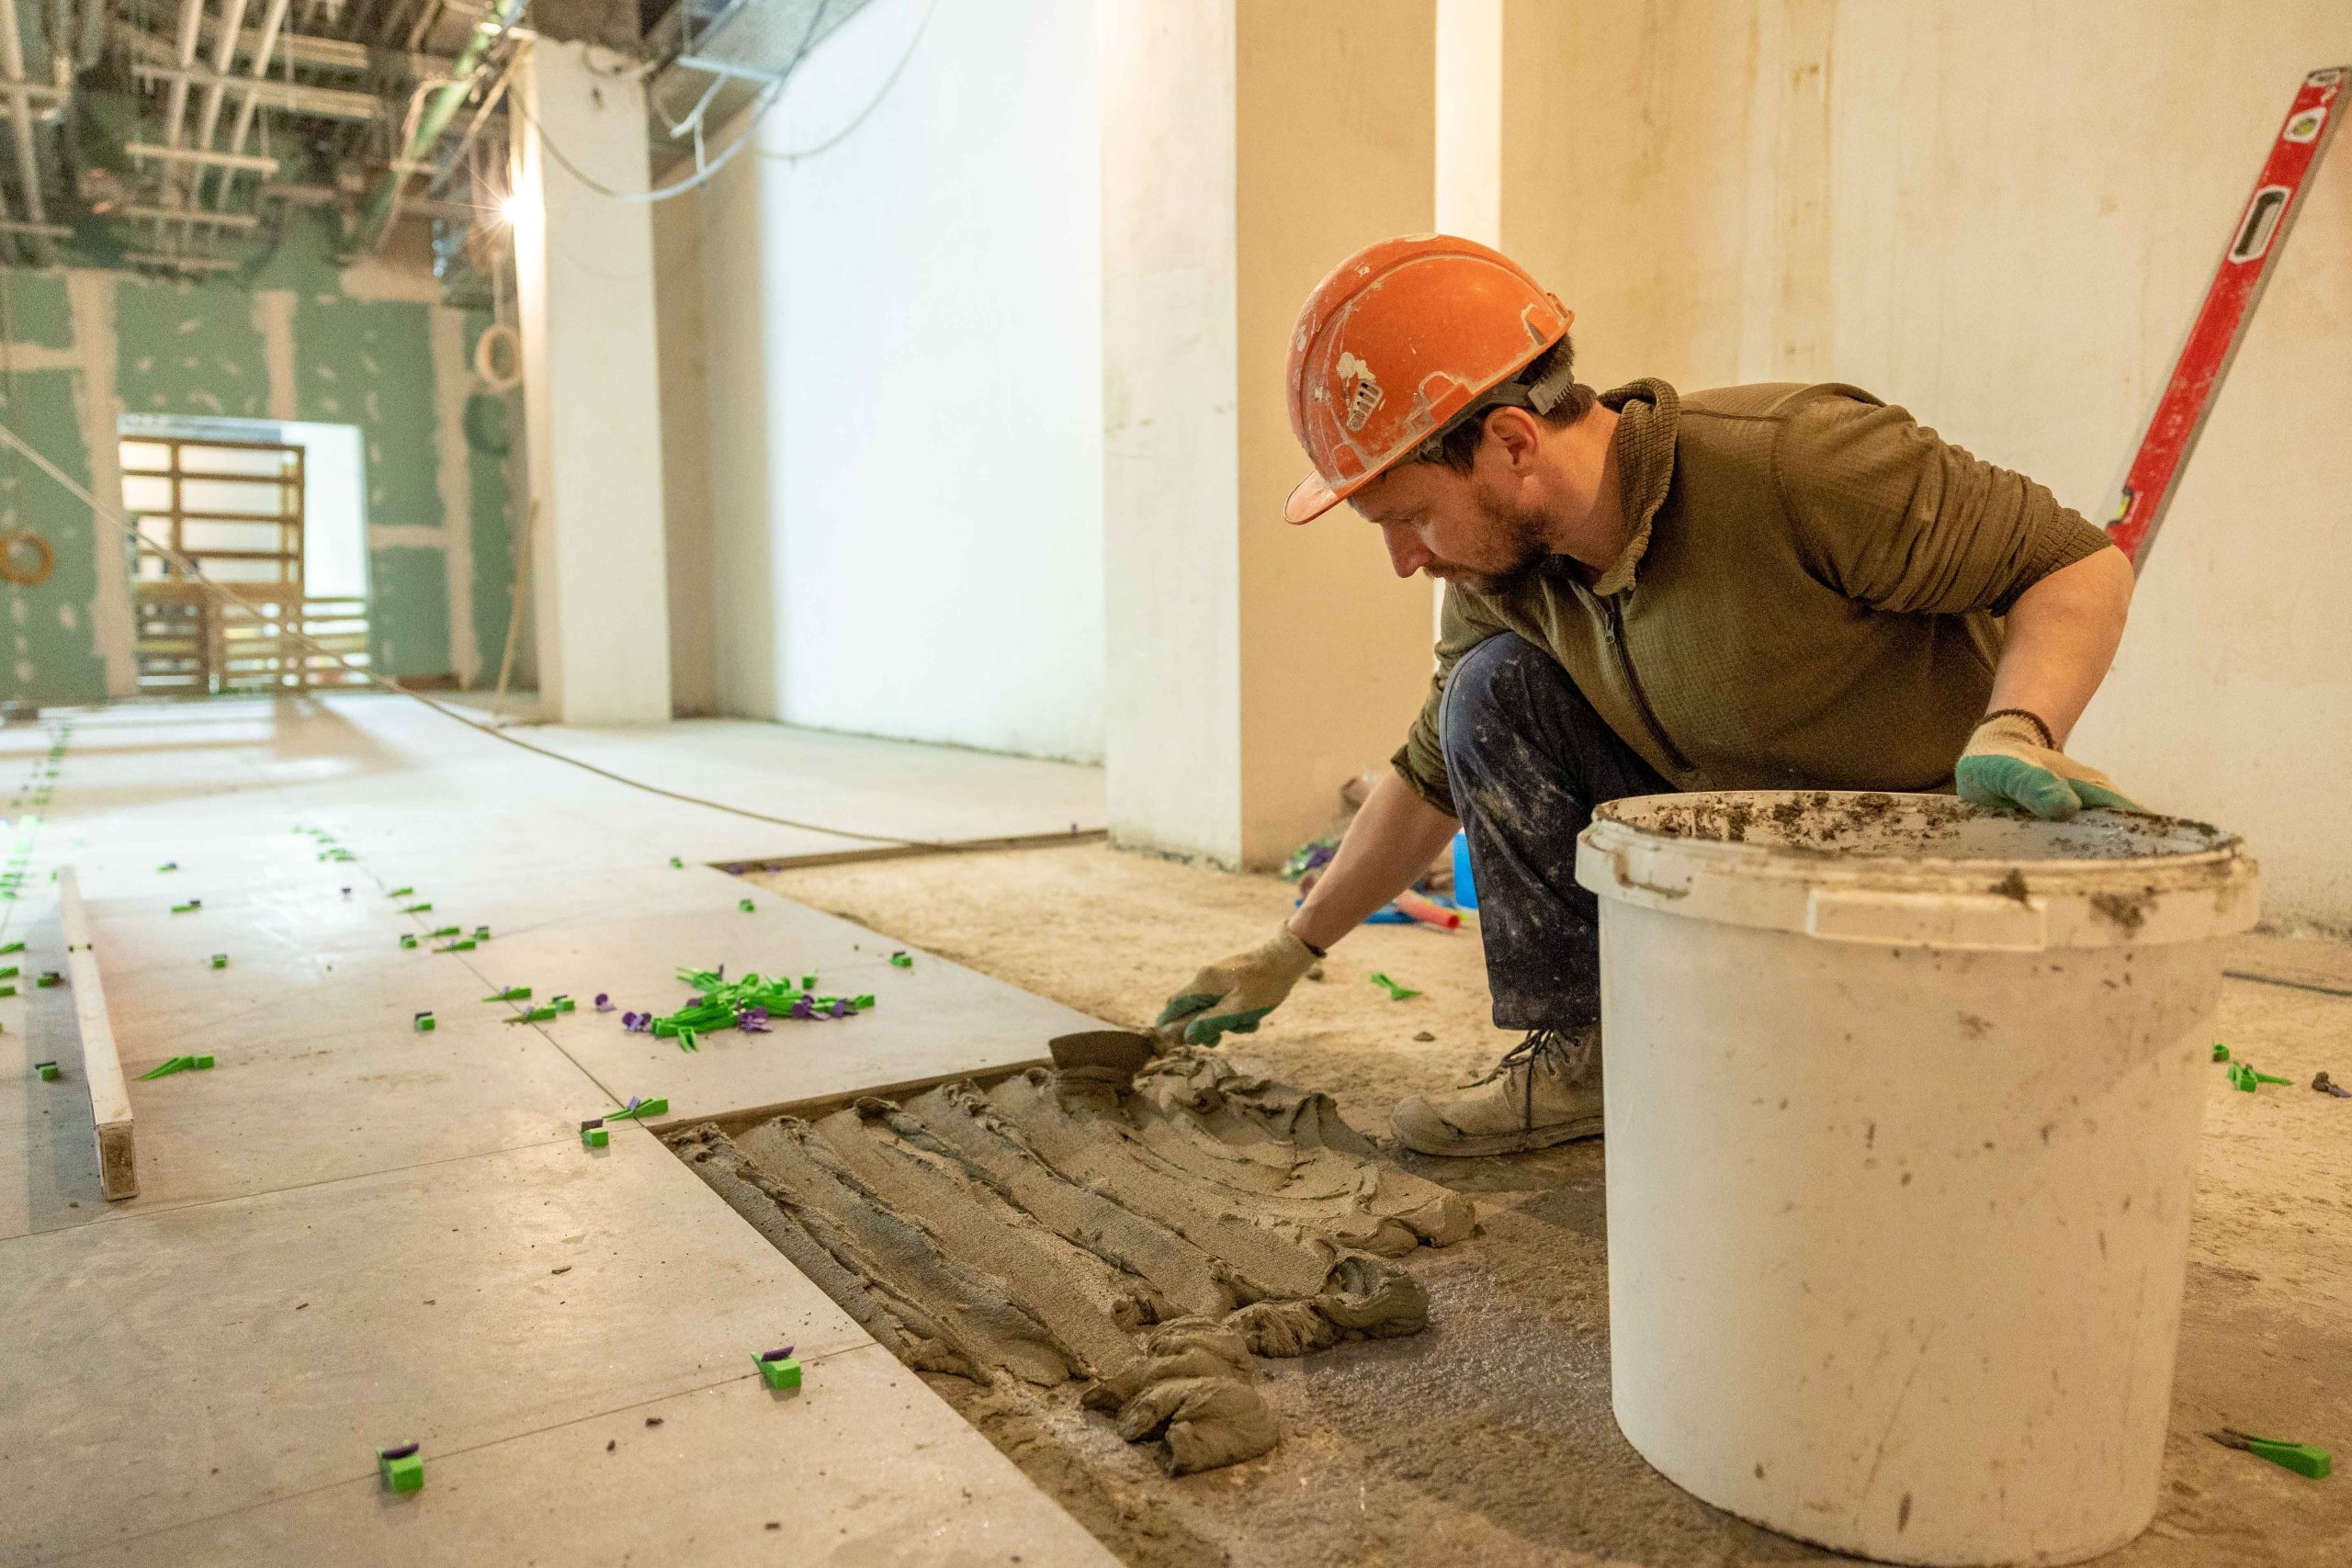
The most common cause is not enough mortar under the tile. Professionals aim for 95% mortar contact on the back of each tile. DIY stone flooring installation often only reaches 40 to 60%, leaving hollow spots that crack under pressure.
When temperature shifts, the substrate expands and contracts. Without enough adhesive coverage, stone tiles begin to loosen within 6 to 12 months.
Water Damage and Cracked Stone Surfaces
Water finds gaps. If grout joints are not sealed or the stone is left unsealed, moisture gets underneath. Over time, this causes cracked stone surfaces, discoloration, and sometimes full stone replacement.
- Seal grout lines within 72 hours of finishing installation
- Re-seal natural stone every 1 to 3 years based on foot traffic
- Tap each tile right after installation. A hollow sound means it was not set properly
How to Choose the Right Stone Installation Company
Do not choose based on who gives the lowest quote. Ask to see photos of finished jobs using the same stone type you want. Talk to past clients. A trustworthy stone installation expert will explain how they handle surface preparation and sealing before quoting you anything.
If they cannot explain their process clearly, that is a red flag. This checklist for hiring a stone contractor will help you ask the right questions.
An Honest Warning Before You Commit
Even a perfect stone installation job has limits.
Natural stone moves with temperature changes. It soaks up moisture over time. Marble chips at corners. Travertine develops small pits on the surface. Slate can flake at the edges. These are not installation defects; they are just part of what natural stone is.
Some stones cannot handle heavy use, no matter how well they are installed. Polished marble in a busy kitchen will show wear within a year. That is not a bad installation. That is the wrong stone for that space.
Be honest with your installer about how you use your space. A good professional will steer you away from a bad choice, even if it means a smaller job for them.
Conclusion
Good stone installation lasts for decades when done right. But it starts long before the first stone goes down with the right material, a properly prepared surface, and a team that takes each step seriously.
Three action steps before you start any stone project:
- Check your floor first, test for moisture, and confirm it is flat.
- Pick your stone based on how you use the space. Think about foot traffic, water exposure, and upkeep.
- Ask your installer about sealing. It is the most skipped and most important final step.
Natural stone flooring installation is worth doing well. Work with people who treat it that way.
FAQs
1. What preparation is required before installing natural stone?
Your floor must be clean, flat, and completely dry. If there is a small dip or wet spot, fix it first. Skipping this step causes tiles to crack, shift, or come loose later.
2. Why are my stone tiles becoming loose or uneven after installation?
Not enough mortar under the tile is the most common reason. If the mortar did not fully cover the back of the stone, weak spots form. Over time, those spots give way and tiles lift or wobble.
3. Is professional stone installation better than DIY installation?
For most people, yes. Stone is heavy and hard to cut cleanly. One wrong move throws the whole row off. Fixing a bad stone job after the adhesive dries costs far more than hiring a professional from the start.
4. How do I choose the right stone installation company?
Ask for photos of past work. Call a previous client if you can. Ask how they prepare the floor and seal the stone. If they cannot explain it clearly, keep looking.
5. Can natural stone be installed indoors and outdoors?
Yes, but pick the right stone for the right place. Some stones soak up water fast and get damaged outside. Others handle rain, sun, and cold well. Always tell your installer where the stone is going before choosing a material.